Translate

Showing posts with label Crafts. Show all posts

Friday, May 3, 2013

Annoying Knots


Don't you hate when you are sitting there relaxing crocheting along and all of the sudden you come along a huge knot in your skein of yarn? UGH!! Well this is the kind of day I am having today. It's a good thing I was close to the end of this granny square when I found it. I managed to pull enough yarn from the knot to finish the square before having to cut it. I will have to work on untangling it later.

Monday, April 22, 2013

Happy Monday!

Hope you have a wonderful week! Happy Monday and Happy Crocheting!

Tuesday, October 16, 2012

Crochet Pink Ribbon Pattern


Crochet Pink Ribbon
Written by Adrena Donnelly 2012
a.k.a. Crochet Crazy Mama

Size: One Size (Approximately 2 3/4 inches long)

What You'll Need:
*Size H Crochet Hook
*Small amounts of 4-Ply worsted weight yarn in Light pink and Dark pink.
*Small Pink Button (I used heart shaped buttons)
*Saftey Pin (If you are making a pin)
*Key Ring (If you are making a Key Chain)
*Yarn Darner/Needle
*Scissors

Skill Level: Beginner/Easy

Abbreviations:
Ch=Chain
HDC=Half Double Crochet
SC=Single Crochet
St(s)=Stitch(es)
SlSt=Slip Stitch


Foundation: With Light Pink, Ch 22.

Round 1: HDC into the second Ch from the hook, and in each remaining Ch across.

Round 2: With Dark Pink, attach new color by pulling one strand of new color through the last HDC on the previous row. Ch up 1 and turn. SC in the next 20 Sts. 3 SC in the next St. Working on the opposite side of the Ch, SC in the next 20 Sts. 3 SC in the last St. Join with a SlSt to the first SC. End off and weave in yarn tail. 

Fold the yarn so that the lighter pink is to the front and the darker pink to the back. Then take one side and cross it over the front of the other. Using a yarn darner/needle sew the center of the ribbon securely at it's crossing point. Then sew on a small pink button at the crossing point on the front side of the ribbon. The ribbon is complete.

To use the ribbon as a pin simply place a safety pin on the back side of the ribbon and pin onto clothing, hats, or other accessories. To use the ribbon as a key chain, slide a key ring through the top loops of the ribbon.

Lastly, wear or show off your ribbon for breast cancer awareness to show your support for the cause! :)

***Terms of use: You may do whatever you wish with the finished product made from this pattern. If you do plan to sell the item, I ask that you give credit to where you got the pattern from. You can NOT claim the pattern as your own. You may NOT sell the pattern itself.

Monday, October 1, 2012

Crochet Pink Ribbons for Breast Cancer Awareness


October is Breast Cancer Awareness month. I came up with these crocheted pink ribbons in honor of those who have lost, won, or are still currently fighting in the battle against cancer. I personally know many of those who have fought the battle.

The pattern for this ribbon will be posted for FREE here on my blog. I will be posting that either tonight or sometime tomorrow. The pattern is very simple, uses up a small scrap amount of yarn, and takes only a few minutes to make. I came up with 2 different ways to display your support for the cause. The first ribbon in the picture above is displayed as a key ring. Proudly display your support right from your key chain. The second ribbon in the picture is being displayed as a pin. Pin the ribbon to your shirt, jacket, scarf, hat or wherever you would like to show your support wherever you go! What do you all think?

Keep a look out for the pattern. It will be up soon! :)

Crochet Pink Ribbon Pin (Front)

Crochet Pink Ribbon Pin (Back)

Crochet Pink Ribbon Key Ring


Monday, August 27, 2012

Covered Travel Baby Wipes Cases


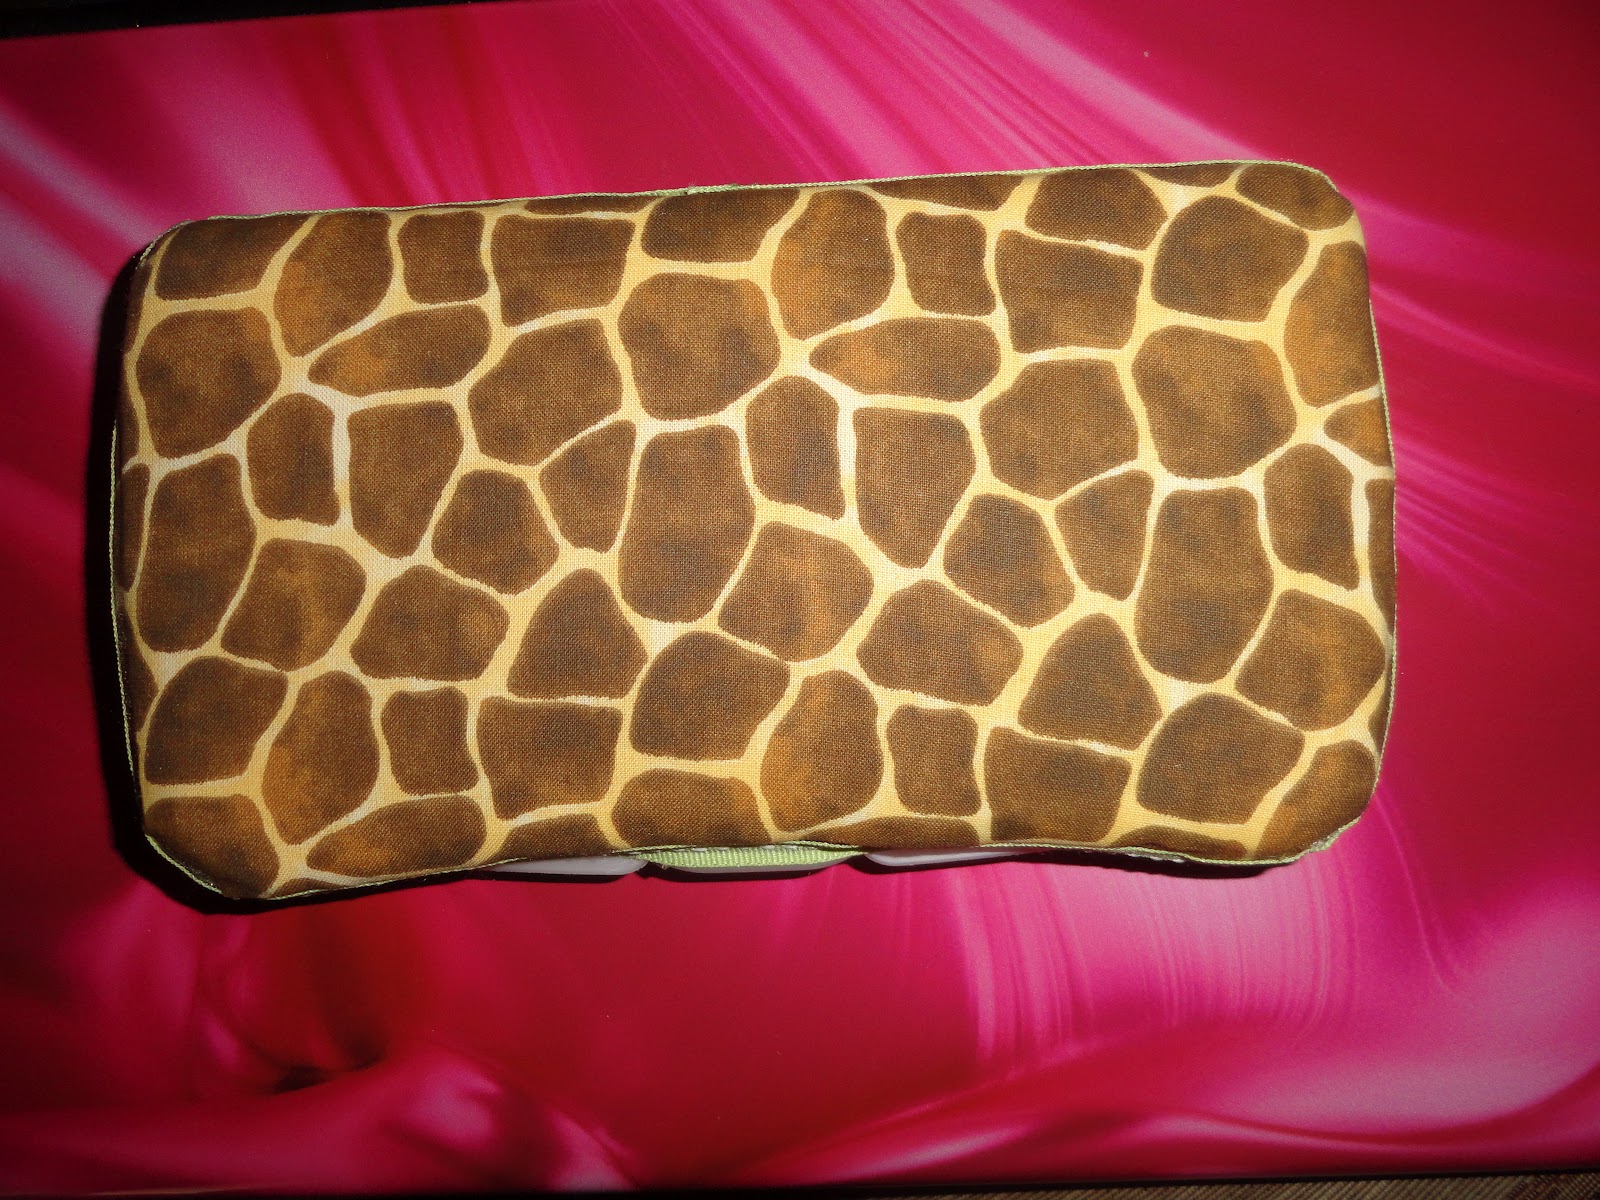
Ok, so this is not crochet related, but it is family related lol. I like to be creative, and anything DIY excites me. I have decided to make a couple of covered baby wipes travel cases for my twins. They come in handy for the older boys too, sometimes. I was amazed at how easy they were to make. It definitely looks a lot harder than it is. So many people that I have shown thought I bought them, or sewed them. I think it's funny and take it as a compliment. I have only made 2 of these so far, but I am thinking of making a 3rd and making a video to show how I do it. 

I used the Huggies brand travel baby wipes containers that I purchased from Walmart for just over a $1 a piece. I also used cotton fat quarters for the fabric, and have plenty left over. Purchased them from Walmart as well for $ .97 a piece. I used a soft flannel under the cotton as batting because it was cheaper and worked  just as well. I got it at Walmart on clearance for $ .32. Lastly I purchased some ribbon to match with my fabrics and nursery theme. They cost just over a dollar each. So for about $5 a piece you can make these cases. 

We are doing a baby animal/jungle theme for our twins so I made one with jungle leaves print, and one with giraffe print. They came out so cute! I am thinking of covering a couple of the larger wipes cases as well. These are much more fun than the boring white ones! :)